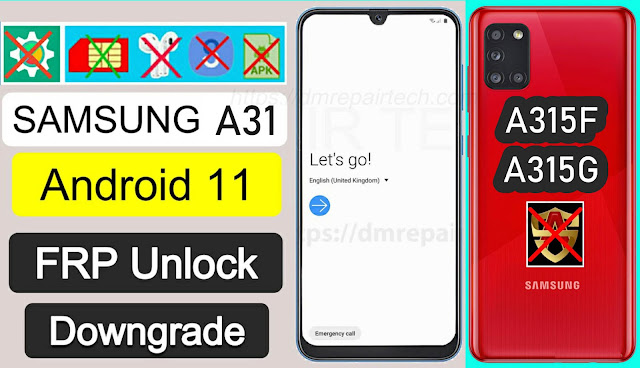
Are looking to Unlock your Samsung A31 stuck at the Google Account Verification protection screen? If your answer is yes, then here you have come to the right place. Through this article, We provided a step-by-step guide that helps to how to Bypass Samsung A31 (SM-A315F) FRP successfully with the help of the FRP file.
FRP Factory Reset Protection is a new security feature added to the latest Android versions. After you added a Google Account on your phone, if you hard-reset the device, then you will face the FRP protection verification lock. The phone will ask to enter the last synced Google Gmail account to check the identity of the user. Due to the huge number of FRP Bypass searches finally, dmrepairtech.com helps you to bypass google account lock with the help of the latest FRP File.
No doubt, it is a great feature indeed, but at the same time, many users face trouble just because of FRP, when they forget the GMAIL ID password after performs the factory reset.
How to disable FRP (Google Account protection):
So How to safe FRP, if you want to remove the Google Account to avoid FRP lock after hard reset, then first go to the device settings=> Accounts -> Google -> Tap the Google Account – tap “3 dots” ->> Delete Account that’s it. Now you can factory reset your phone peacefully without being worried about FRP block.
Don’t worry, if you don’t have a computer to bypass the FRP lock from your phone. Check out our dmrepairtech.com page and follow our Samsung A31 FRP Bypass without Any free tutorials the FRP file.
✅ ALL FRP Bypass Tool & Driver - LINK
✅ SM-A3315F A315FXXU1BUA1
✅ SM-A315G A315GXXU1BUB2
✅SM-A315N A315NKSU1BUA1
How to Bypass FRP Samsung Galaxy A31:
Step 1: Enter Your Galaxy A31 Download Mode:
- Connect USB Cable your Samsung A31 to your Laptop.
- Turn OFF your Samsung device.
- Press & hold Together Home Button+ Volume Down Button+ Power Button.
- Release all keys Once the WARNING displayed.
- Then press the Volume up Key to Continue.


0 $type={blogger}:
Post a Comment